I’m in the process of replacing the battery in an Optoelectronics Cub frequency counter I recently inherited. Unfortunately, the battery pack for this frequency counter (and the Optoelectronics Scout and apparently a bunch of others) is fixed in the device with double-stick tape and not really intended to be removed. A new one is available here: www.optoelectronics.com but that costs more than I want to pay, especially since it wears out after a while.
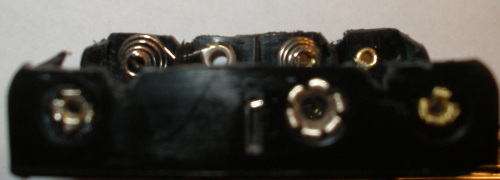
Instead, I decided to replace the battery pack with a battery holder that could hold NiMH batteries. The connector on the main board was about 5.3 mm wide and 4.4 mm high, with connectors about 2.5 mm apart. I think it’s a JST XH 2-pin connector.
According to the multimeter, the left pin is ground facing the socket. Unfortunately, this means the wires on my connector are the wrong colour - so I trimmed them short and soldered them to the correct wires on the battery holder with a quick bit of heat shrink.

The no-load voltage across the connector is 10 V. Since the battery claims to have 4 NiCd cells, I’m guessing (hoping?) it’s 4 * 1.2 V cells in series. Because the battery pack is designed to be charged fairly continuously, I also hope that it’s a slow charger as described here so I can use NiMH without danger.

Fitting the battery connector into the frequency counter requires a little work. First, it needs to go face down, so the curvature of the batteries matches the curvature of the case. Next, at least with the one I have, there’s a wire that goes across the connector from one side to the other. This needs to be at the bottom… which means the wires have to be run down the middle of the connector. Finally, the components on the PCB stick a little too far down. I had to remove some of the plastic on the left and right.
I used a Dremel with a sanding bit to make room down the back: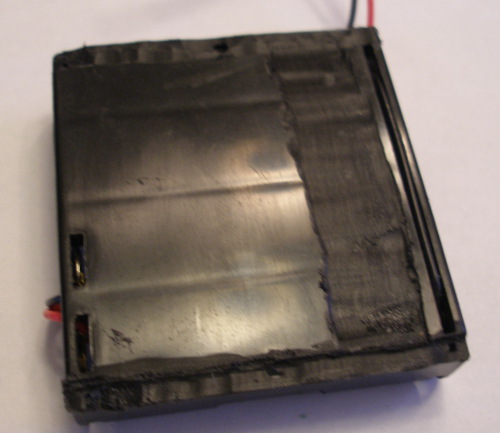
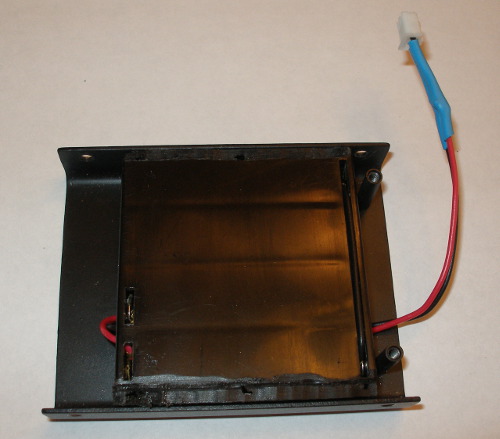
Putting back together required a little squishing, and I didn’t feel comfortable tightening the screws at the bottom that held the board down all the way. For now they’re just a little loose… a better option might be to get a few small washers under the board.
Useful parts:
- Battery holder Radio Shack 2700391 ($2.49)
- Connector pins eBay Micro JST 2.5 XH 2-Pin Connector with Wire Male Female x 10 set ($6)