Many of us have sound card interfaces for our radios that use the standard RJ-45 plug on one end and a custom connector for the radio on the other. If you’ve got more than one radio, it’s sometimes possible to buy additional interface cables. That can get pricey, though – and depending on the connector on your radio, an interface cable might no longer be available.
For many rigs it’s possible to buy a connector that ends in bare wire fairly cheaply. I hit eBay and found a cheapie Kenwood connector for $2.49 (“4 Wire Speaker Mic Cable for Baofeng UV5R Kenwood TK-240”).
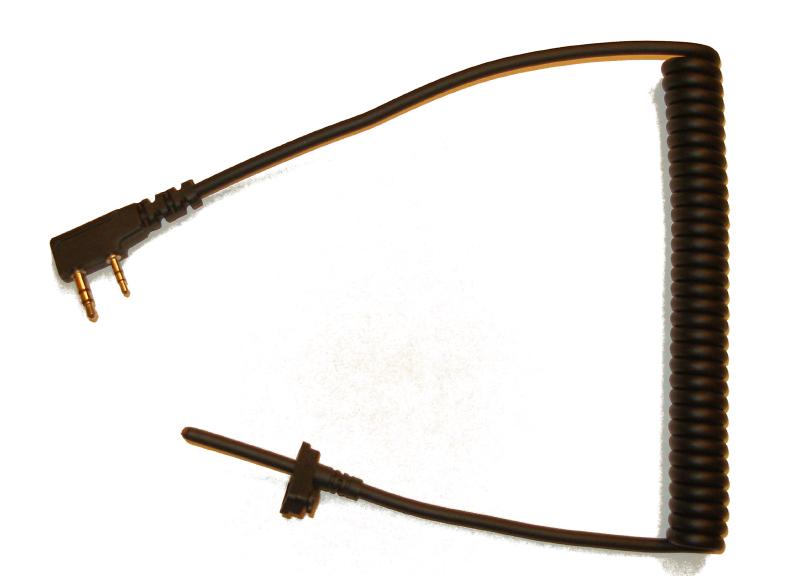
While holding one of these in my hand, I noticed that the individual wires in the radio cable were roughly the same diameter as the wires in cat-5 network cable.
Before doing anything else I wrote down which wires connected to which pins on the radio. All of the wires in my cable had different colors, which made identification a lot easier. Next, I determined which pin in the RJ-45 plug should be connected to which wire. This varies depending on the radio connector and sound card interface you use. In my case, green went to the 2.5mm plug tip aka speaker, red went to the 3.5mm ring aka mic, black went to the 3.5mm sleeve aka PTT, and white went to the 2.5mm sleeve aka ground. I found this Tigertronics page useful.

After that, I cut the interface cable straight across with diagonal cutters. My cable came with an integrated strain relief, and I cut that off as well. Then I carefully removed a little more than half an inch (about 13mm) of the cable jacket, being careful not to nick the wires inside.
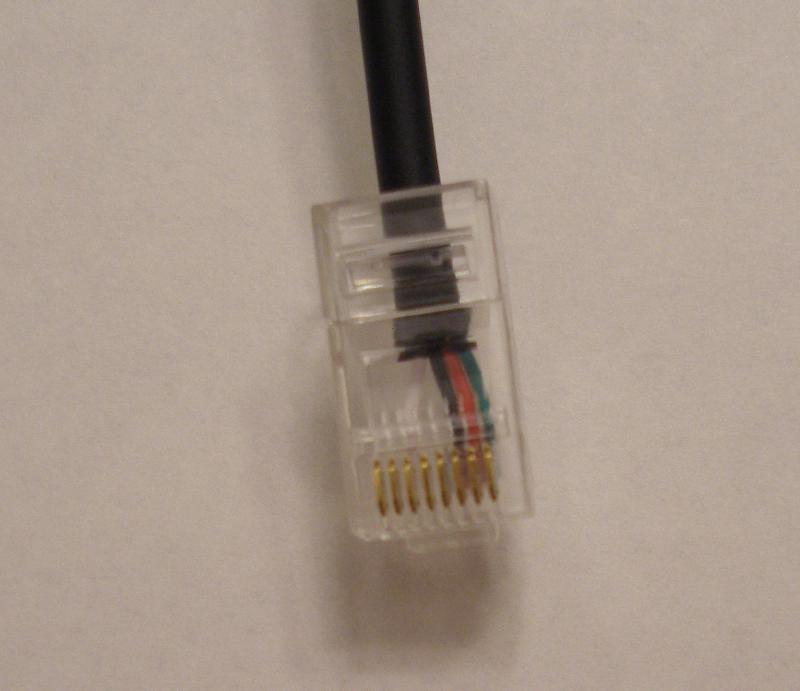
I arranged the wires in the correct order they’d need to be into the RJ-45 plug. The wires were solid core, so I was able to spread them more or less into position. Next I inserted the cable into the RJ-45 plug, being careful to slip each wire into the appropriate channel. One or two recalcitrant wires needed persuasion with a pin to find the right home.
Once all the wires were in their channels, I pushed hard on the cable to ensure all the wires were as far forward in the plug as they would go. At this point I crimped the RJ-45 plug. There are two nice things about an RJ-45 crimp: there’s no need to strip the wires (the plug bites down on them to make the connection), and the crimp forces part of the plug’s shell against the cable, which keeps it in place.
Then came the moment of truth: I tested continuity of each pin on the connector. Success!
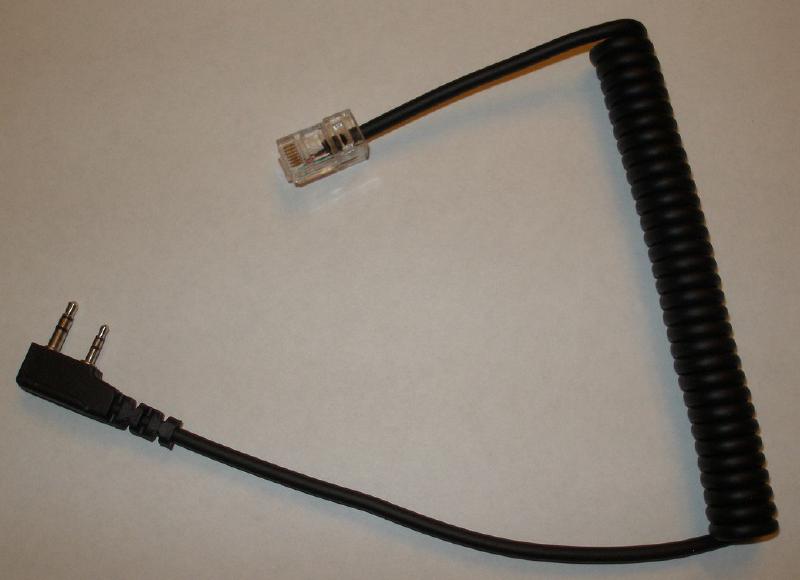
The radio’s connectors were in the right place, and I had a professional-looking interface cable for a radio that needed it.
Reply by Email